How to resize VM disk
Overview¤
AUCloud provides a public catalog which contains VM templates with various OS flavours. Each of these VM templates is configured with 1 Hard Disk with the following default disk sizes :
| OS | Disk Size | VM Size |
|---|---|---|
| Linux Centos / Ubuntu | 10GB | Mini |
| Linux Centos / Ubuntu | 50GB | Small / Medium / Medium Plus / Large / Larger / Largest |
| Windows Server 2016 /2019 | 100GB | Small / Medium / Medium Plus / Large / Larger / Largest |
It is recommended to utilise this Hard Disk as a dedicated OS drive/partition and create additional disks to store data, logs, applications installation, etc. To resize (increase) the disk drive / partition, the following need to be performed :
- Resize the disk from the VM level first
- Expand the disk / partition from the OS level.
Process¤
The following steps provides guidance on how to resize VM level disk on AUCloud:
-
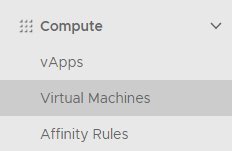
Once you are logged in VMware Cloud Director through the portal, navigate to the Virtual Datacentre - Compute - Virtual Machines:
-
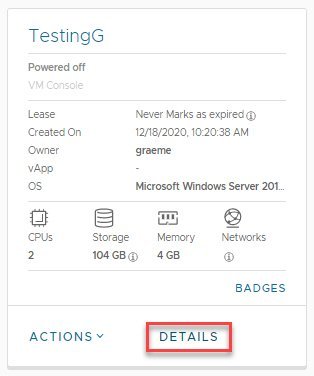
Select the VM which required its disk(s) to be resized, click on DETAILS.
-
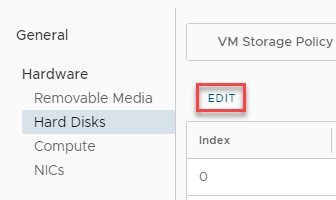
Then navigate to General - Hardware - Hard Disks section, click EDIT.
-
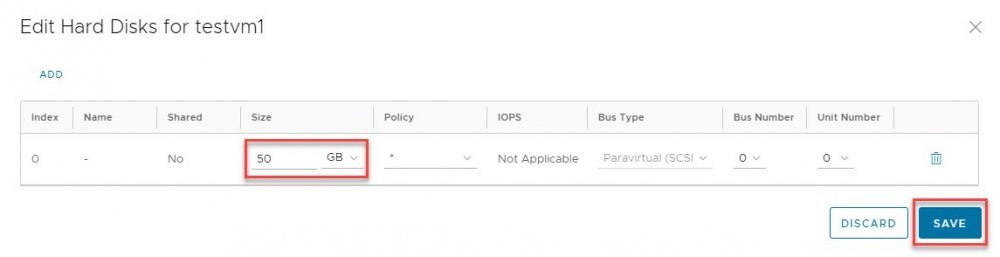
Adjust the disk size on the relevant disk.
-
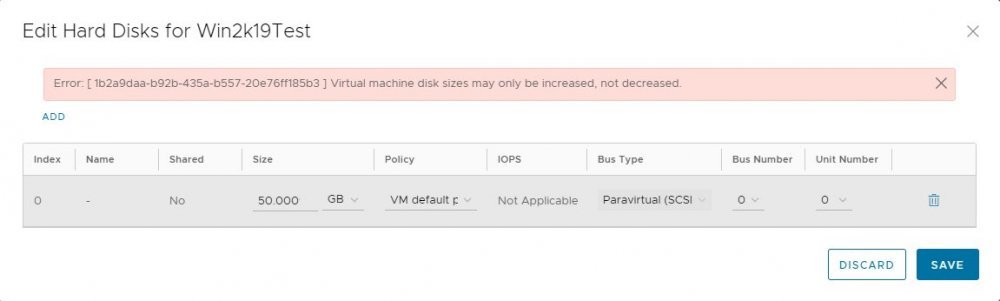
Warning You can only increase the disk size. If you try to decrease the disk size, the following alert will pop up and the disk size will not be updated:
-
Then click on Save button.
Once the above steps completed, the next thing to be performed is expand the disk from the OS level.
Note
- for Linux VM, rebooting the server may be required if the re-scan of the scsi devices did not pick up the new disk size
- for Windows VM, to expand the disk, perform a re-scan on the Disk Management (in Computer Management) then perform extend volume