How to create a catalog
Overview¤
AUCloud provides a public catalog for you to use that contains standard virtual machine (VM) sizes and operating systems. The public catalog is a good place to start when you first deploy VMs into VMware Cloud Director. However, you may want to create your own catalogs, containing specific applications or gold images, which you can then use to deploy VMs quickly.
Create a catalog¤
-
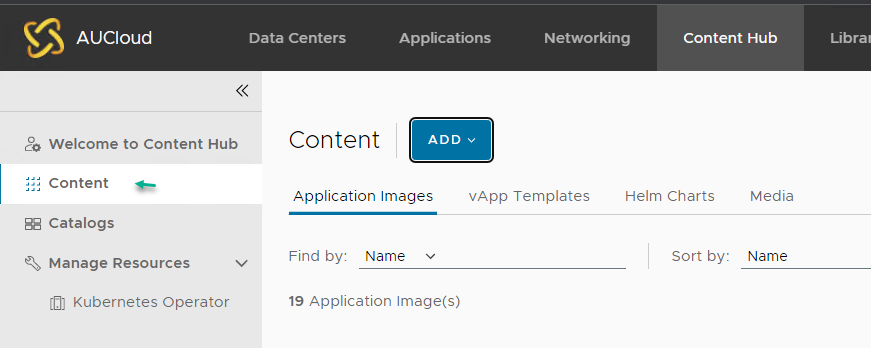
In VMware Cloud Director, click Content Hub from the top menu bar.

-
In the left navigation panel, click Catalogs.

-
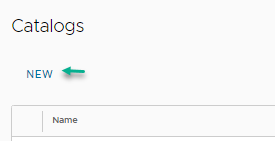
To create a new catalog, click New.
-
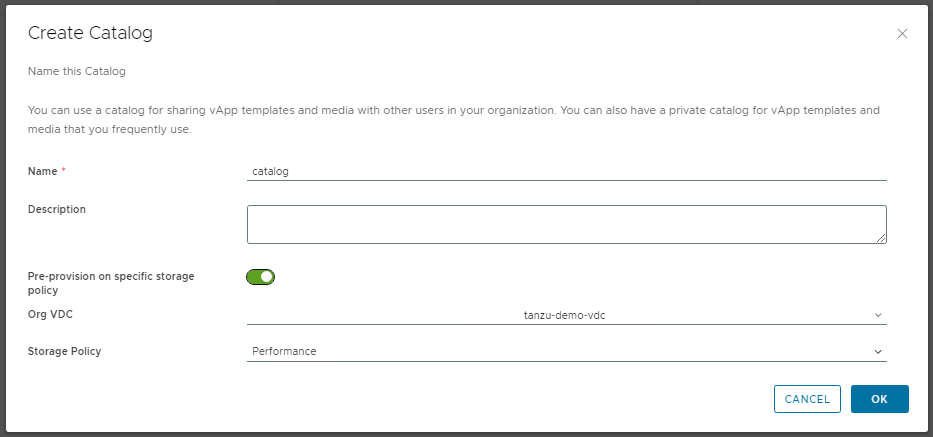
In the Create Catalog dialog box, Name the catalog and give it a Description if needed.
-
To specify a storage policy for the catalog, select the Pre-provision on specific storage policy option then select the desired Storage Policy. The storage policy is dependent on what is preferred at the time your Org VDC is created. Contact AUCloud for more information on different storage policies.
-
To finish, click OK.
-
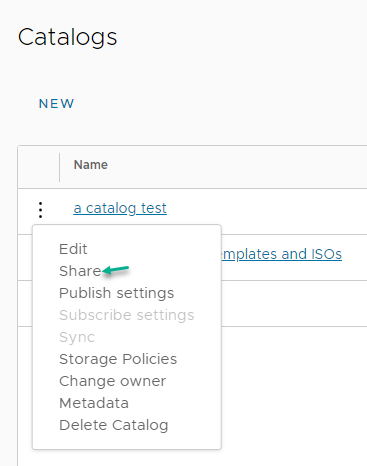
To make the catalog visible to others within your organisation, click the ellipsis and select Share.
-
In the Share with Users and Groups dialog box, select:
- Share with All Principals grant catalog access to all users and groups in the organisation; or
- Share with Specific Principals grant catalog access to selected users or groups.
Note
You can give users different access levels: Read Only, Read/Write or Full Control.

Option Description Read Only Users with this access can only read the catalog's vApp templates and ISO files Read/Write Users with this access have the ability to both read and add new vApp templates and ISO files to the catalog Full Control Users with this access have full control of the catalog's contents and settings -
When you have added all the users you want to access the catalog, click OK.
-
To finish, click Save.
Populating a catalog¤
VM/vApp Templates¤
There are two ways to populate a VM/vApp template into a catalog:
-
Upload an OVA/OVF package
-
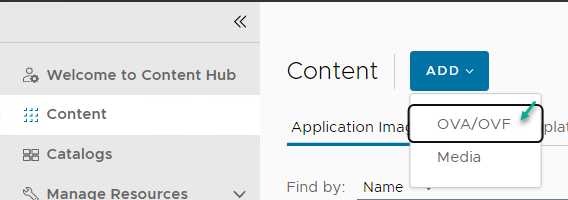
In the Content Hub page, in the left navigation panel, select Content.
-
Click ADD drop down menu and select OVA/OVF to open an OVF upload window.
-
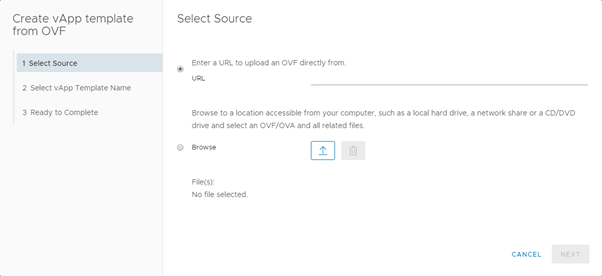
In the Create vApp template from OVF dialog box, select the source of the OVF - either enter a URL or Browse for a local file.
-
Click Next then review the details of the OVF template and then click Next.
-
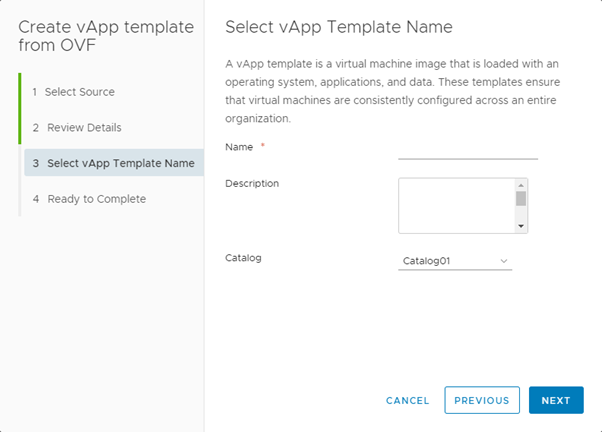
Enter a Name and Description for the template and from the Catalog list, select the catalog in which you want to put the OVF. Click Next to continue.
-
Review the details of the vApp template and click Finish to deploy.
Note
Depending on template size and network speed, the upload may take some time.
-
-
Create a template from an existing vApp
- In VMware Cloud Director, click Datacenters from the top menu.

-
Select the VDC where the vApp is located.
-
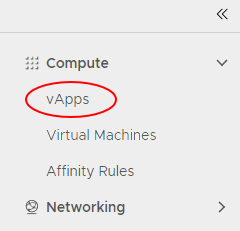
In the left navigation panel, click vApps.
- In the card for the vApp that you want to add to the catalog, select Actions then Create Template.
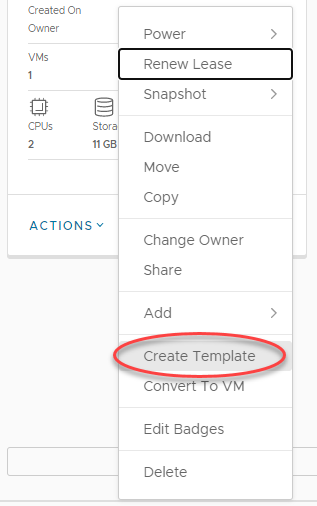
Note
You can add both running and stopped vApps to the catalog, although it is worth noting that creating a catalog image from a running vApp could affect performance.
- You can now choose the catalog you want to add the vApp to, give the vApp a new name, assign a storage lease, and define whether vApps deployed using this template are identical or customisable. You can also overwrite an existing catalog item. If the catalog you are adding the vApp to is published externally, a warning will appear.
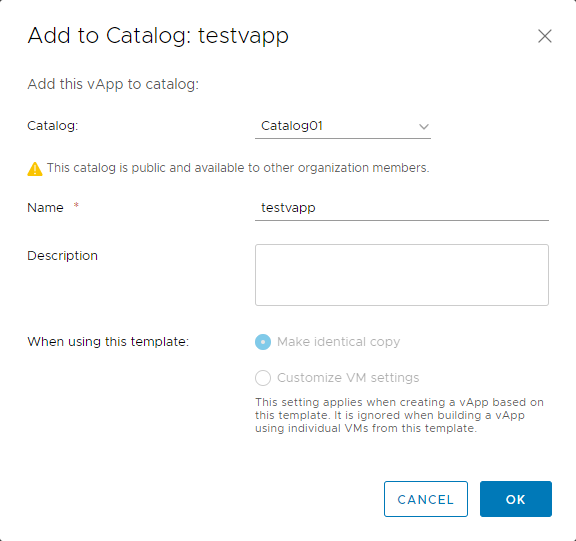
-
To finish, click OK.
A status bar will appear on top with the message: Please wait. You can close the window and check the progress by expanding the Recent Tasks section at the bottom of the VMware Cloud Director interface.
Media¤
-
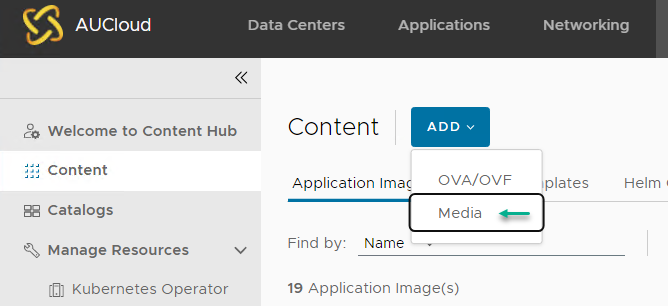
In the Content Hub page, in the left navigation panel, select Content.
-
Click ADD drop down menu and select Media to open an Upload Media window.
-
In the Upload Media dialog box, select the Catalog from the drop down menu.
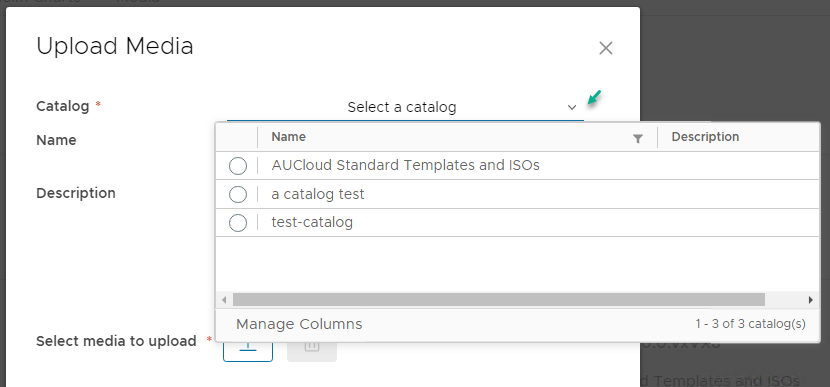
-
Enter a Name and Description for the template and select the media to upload by clicking on the upload icon to browse and select the image file.
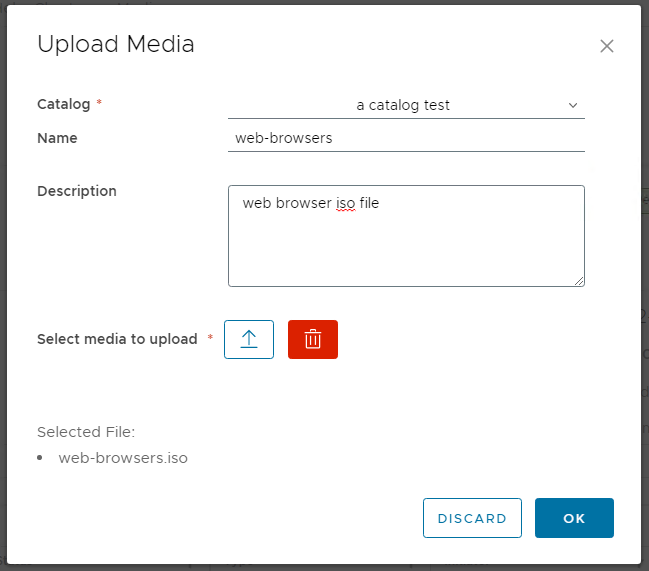
-
Click OK to upload the media file.
Note
Depending on media file size and network speed, the upload may take some time. After the upload process starts, the media file appears in the catalog/content media grid.